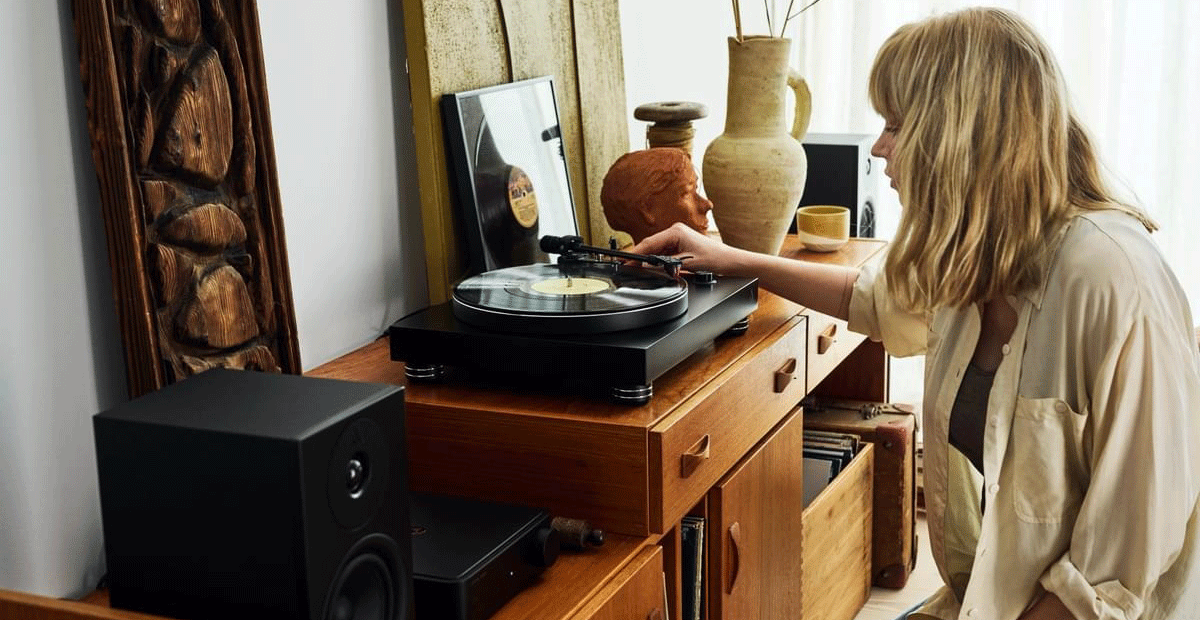
Investing in a turntable really is investing in your music experiences. In the case of our turntables, exclusive materials and ridiculous ease of use all contribute to that special feeling you won’t get anywhere else than vinyl.
Here at Argon Audio, we’ve been making turntables for many years. We find that very often, a turntable can be the fastest and cheapest way to gain access to fantastic sound quality, although we also often hear from our customers that setting up a turntable can seem difficult and complicated. It’s not! All our turntables are super simple to set up, and we promise you that if you follow the steps below, you can get great sound from your new turntable within 5 minutes.
UNBOXING PLAYLIST
Things to note when placing your new turntable
Turntables are very sensitive to vibrations and resonances. These can come from the floor, furniture or even your speakers. Our turntables have specially designed rubber feet to decouple the turntable as much as possible from the surface on which it is placed. Still, you should always try to place the turntable on a surface that is as resistant to vibrations as possible. The best thing you can do generally is to put the turntable on a shelf that is mounted on the wall.
It’s also very important that the turntable is level. Therefore, always check with a spirit level to ensure that the furniture or shelf you place the turntable on is completely level.
SETUP
Perhaps the most important component of the turntable is the cartridge. This is the part of the turntable that decodes the grooves in your vinyl records and translate them into electrical energy that your system can then convert to sound. In order for the cartridge to perform as well as possible, there are a few things that you should check before you start spinning your records.
All turntables from Argon Audio come with the cartridge mounted from the factory. We are careful to mount it correctly, but if you want to change it or adjust it yourself, you can use a so-called protractor, which is included in the box in our Vinyl Kit 2.

NEEDLE PRESSURE
For the cartridge to work as intended, it is also important that it has the right amount of pressure into the groove. This is also sometimes referred to as downforce or VTF (Vertical Tracking Force). First of all, look in the datasheet for the cartridge, or on the manufacturer's website, and see what amount of pressure the manufacturer recommends. Usually, it’s between 1.5 – 3 grams.
To adjust the needle pressure, use the counterweight – the small, round weight located at the back of the tone arm. For our turntables here are the correct settings (with the standard pickup):
TT MK2: 3 grams
TT-3: 1.75 grams
TT-4: 1.8 grams
TT-4 SE: 1.5 grams
Start by finding the point where the tone arm with the cartridge mounted is “floating” in the air because there is no downforce applied. This is found by adjusting the counterweight forward or backward on the arm until you can let go of the arm and it does not move up or down.
NOTE: Remember to remove the protective cap on the cartridge before adjustment.
When the weight is adjusted so the arm is "floating", you hold on to the weight itself and turn the small scale so that the 0 is at 12 o’clock – signifying that there is no weight added to the arm. This small scale can be rotated independently of the large weight. Now, turn both the counterweight and the scale towards the arm until the correct weight is applied to the cartridge.

ANTI-SKATING
Anti-skating typically consists of a small weight on a string or a magnetic mechanism, which holds the arm back and prevents it from just speeding towards the center of the record. Typically, anti-skating must be set to the same value as the needle pressure. So if, for example, the needle pressure is 1.75 grams, anti-skating should be set to the same, or in the same range (1-2 grams).
Argon Audio TT MK2 has built-in anti-skating which cannot be adjusted but is tuned to the pickup.
This covers all the basics of setting up a turntable; if you have done all this, then you are ready to start playing your records!


